Étoilé Mockup, Jesse Ross, 2007

This is the default view when you first start up Etoile. We have the typical menubar at the top, with the application menu being a corner hotspot, and the flower menu being the other top corner hot spot. The flower menu would contain system-related tasks (such as Shut Down, Log Out, System Preferences, etc).
Along the left we have the side bar. The side bar contains items of two types: Project Shortcuts and Tag Overlays. The Project Shortcut section is equivalent to a virtual desktop switcher, and we can add items to or remove items from this list, as we’ll see shortly. Underneath the Project Shortcut section is the Tag Overlay section. Default items may include All (which shows all objects on the system), Inbox (which shows all non-user created items to appear on the system today), Events (which is a calendar view), People (which shows all contacts/addresses), Trash (which shows items ready to delete), and Shelf (which acts as a temporary place-holder for items to move between projects, or for often-used items). Tag Overlays are equivalent to smart-folders — the contents of a tag overlay have all been tagged in a certain way, or meet certain criteria, causing them to show up in these folders. Users could remove any of these items, or create their own Tag Overlays by specifying the smart folder criteria. Some examples of folders that users might create are: Today (for all objects that appeared on the system today), To-Do (for items tagged with a ‘todo’ tag), or Etoile People (for Person objects tagged with ‘etoile’). Items in the Tag Overlay list can be organized however the user feels best suits them, thus allowing them to put the most-frequently accessed item at the bottom hot-corner location.
In the lower right corner is the Project Management Overlay icon, which I’ll discuss now.

This shows the result of clicking the Project Management Overlay icon in the lower right. Clicking this triggers an Overlay view (a semi- transparent window which shows the current Project underneath). In this view, the user can see all Projects on their system — in this case, the user has 3 Projects: 1 as a sidebar shortcut and 2 in the overlay.
Along the bottom of every Overlay view is the bottom bar. The bottom bar contains a search/filter box, and other icons related to viewing the items within the overlay. In this case, there are only two icons – a toggle between Icon view (active) and List view (inactive).

The user has now dragged the two Projects in the overlay out to the sidebar.

Here the user has dismissed the overlay by clicking anywhere on it. Overlays operate very similarly to OS X’s Dashboard.

The user then decides that they want to work on a different Project, so they select it from the sidebar. This then automatically switches to that project. The Project shown here is in Project Overlay view already. This view is triggered by double clicking anywhere on the Desktop. Because it is already in that view, that means that the last time the user used this Project, they had double-clicked on the Desktop before pulling this Project off the sidebar. The Project Overlay shows all the non-active documents within the Project, and also includes a bottom bar. This bottom bar has the same items as the Project Management Overlay, plus an additional sorting toggle: the icons include sorting by Tag (inactive), by Type (inactive), or Manually (active).
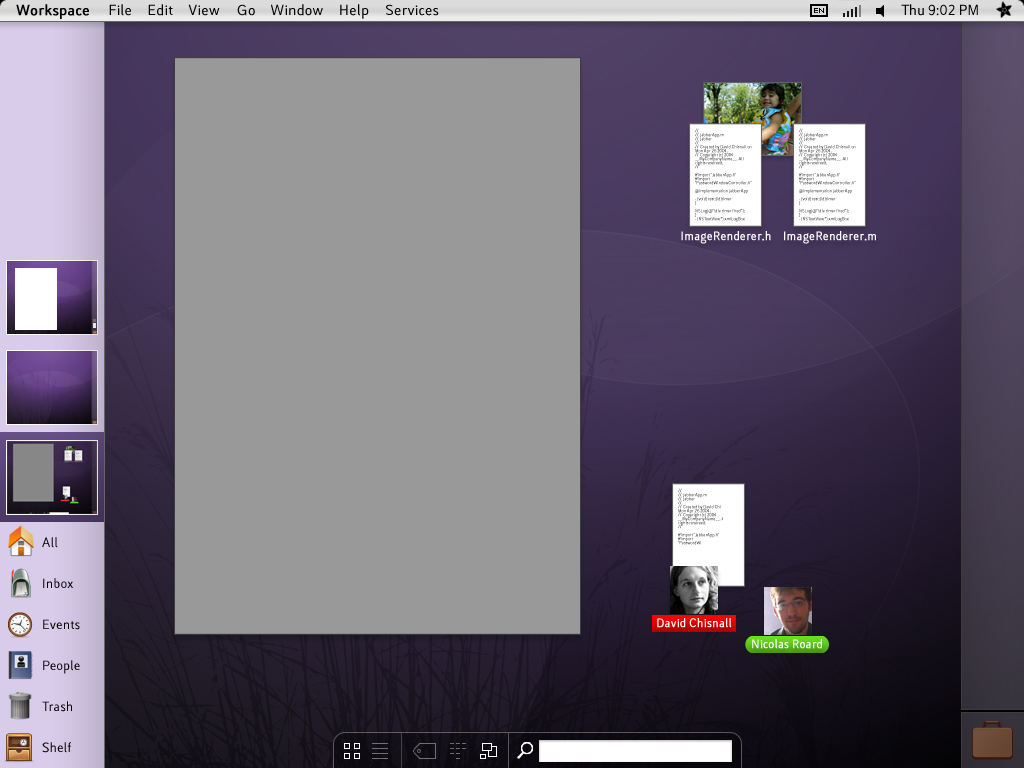

Documents can be opened by double-clicking on them. Visually, this drops them back behind the Project Overlay. Double-clicking to activate the document also removes it from the Project Overlay — objects should have just a single representation per Project.
Notice that anytime the user modifies the Project, either by activating a document or by working on a document, the sidebar representation of that Project changes as well.

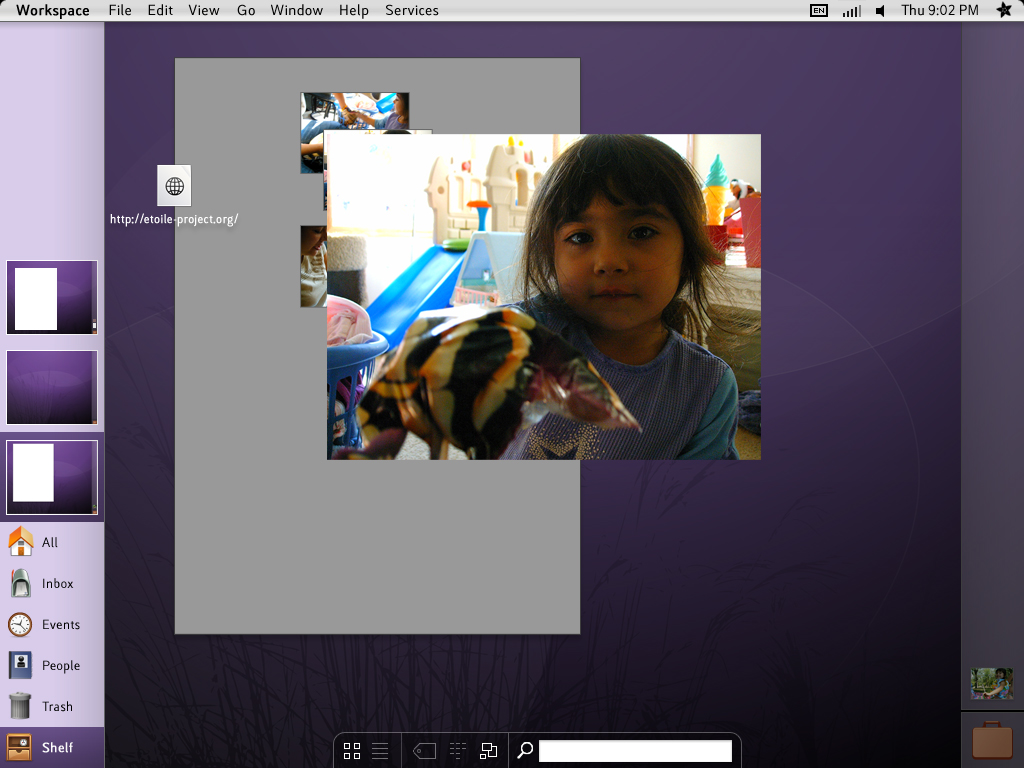
Like other overlays, the Project Overlay is dismissed by clicking anywhere on the overlay itself.

Here the user has decided to minimize one of the active documents, in this case the photo. This sends the document to the document bar, to the right.

The user then decides to trigger the Shelf Tag Overlay because they want to drag something out of it into their current project. Notice that, at any given moment, the user will have a Project highlighted in the sidebar, and may also have a Tag Overlay item highlighted. Also notice that triggering a Tag Overlay, or the Project Management Overlay, does not change the Project representation in the sidebar. This is because triggering these overlays (unlike triggering the Project overlay) does not change the Project state itself.

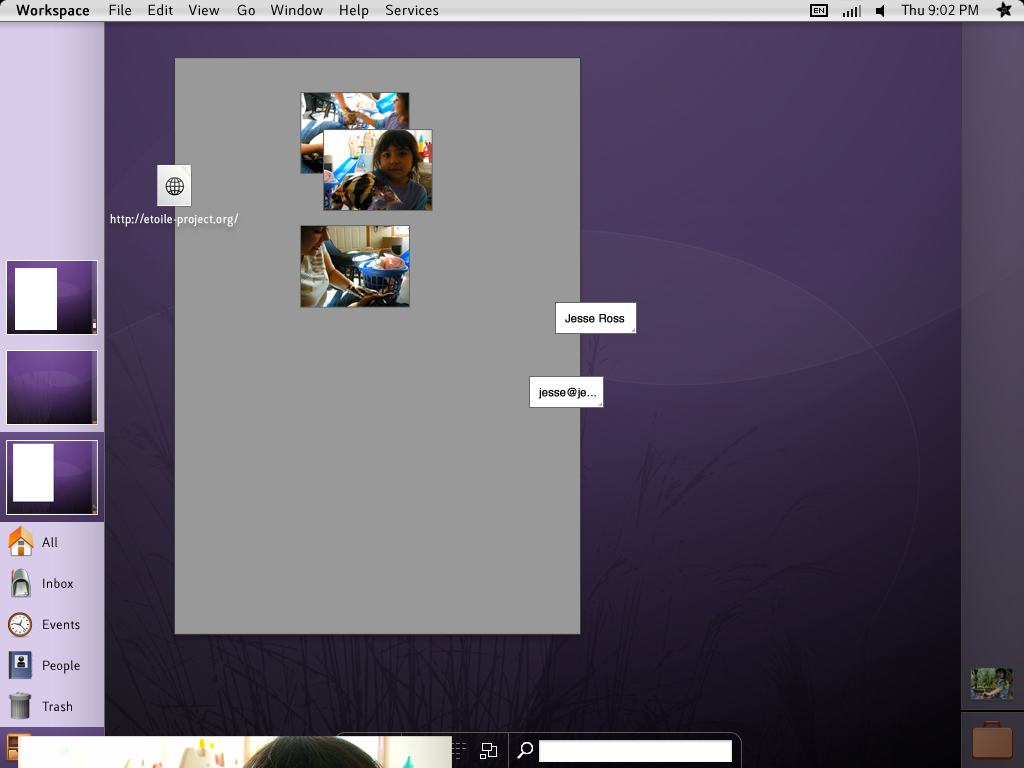
The user decides to grab the middle photo. Doing so resizes it to actual size. The user then drags it back over the Shelf Tag Overlay list item (or into the hot corner in this case) to bring it to the current project.


As soon as the hot corner is reached, the overlay is dismissed. The user then drags the photo into position.
Alternately, to drag the item from the Shelf to the current project, the user could have dragged the photo directly to the Project representation in the sidebar, and dropped it there. This would work for any Project, not just the currently viewable one.
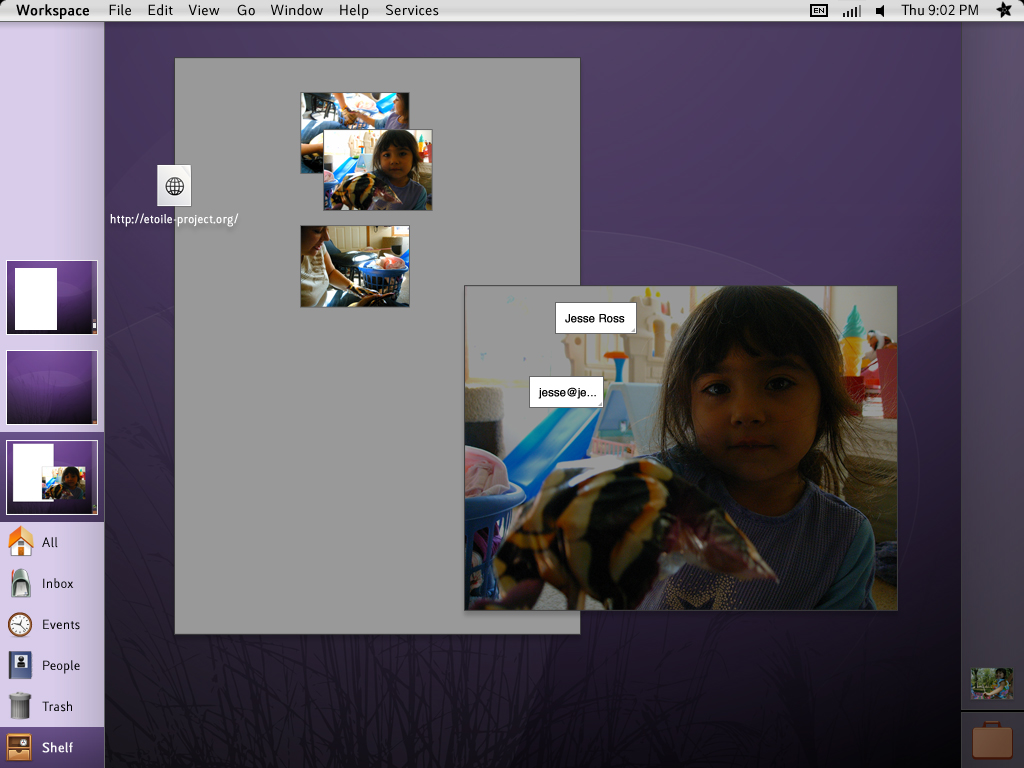
Here the user triggers the Shelf Tag Overlay again, showing that the photo that was grabbed still exists on the Shelf Overlay. If the user wanted to now remove the item from the overlay, they could drag the item from the Shelf onto the Trash Tag Overlay list item.
Search
Information
User Interface Mockups
Étoilé 0.4 Screenshots
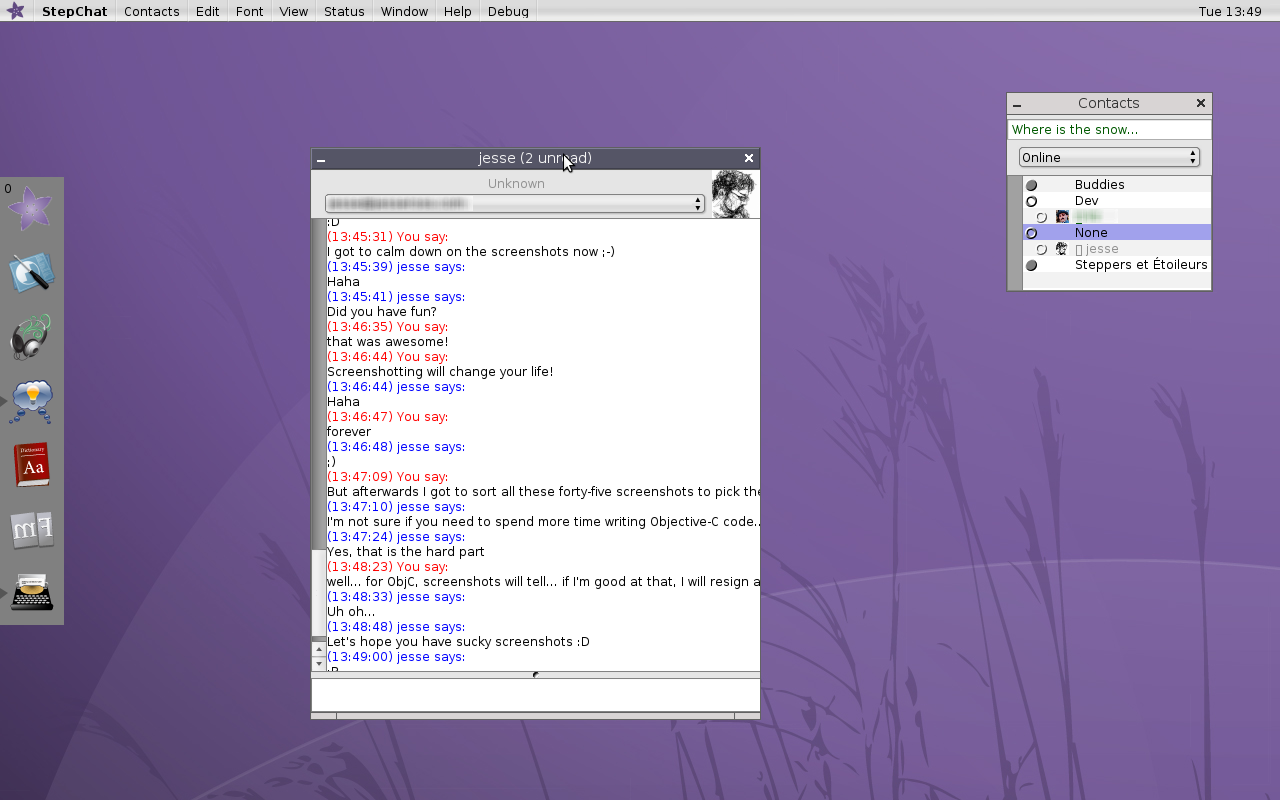 |
StepChat |
 |
Typewriter and Font Manager |
 |
Typewriter Find Panel and StepChat |
 |
Vindaloo PDF reader |
 |
Icon Theme and EtoileUI Inspector |